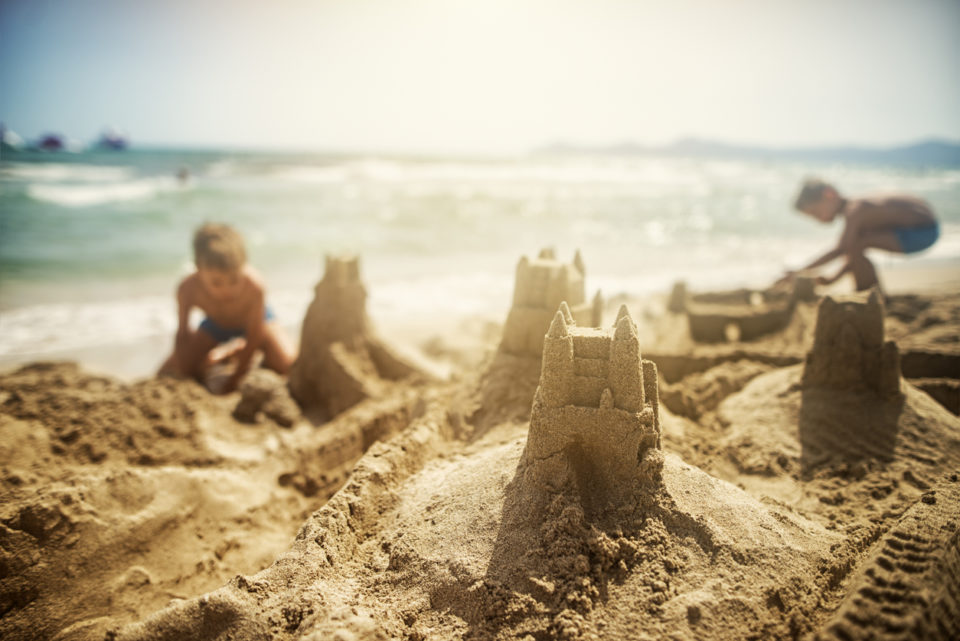
If you’re like most people, a day at the beach involves lounging in the sun, dipping your toes in the water, and leisurely building a sandcastle with your kids. However, there are those out there who take building sandcastles to another level and create works of art that are stunning in their own right but, unfortunately, do not stand the test of time.
If you wish to achieve professional sandcastle builder status, then you have come to the right place to begin your journey. Once you read through our sandcastle building guide, a day at the beach will take on a whole new meaning. As always, we begin with the basics.
The Basics
The trick to any sandcastle begins with cobbling together the right ingredients to perfect the job. These include:
- Sand – To begin, you need wet sand. Damp sand can be tamped down to allow water to drain quickly. This creates a solid clump that is perfect for carving. You want to try for one part sand to one part water. Pour water into a bucket, then shovel in the sand for easy blending. Be sure to let it drain.
- Water – Start by digging a self-replenishing water hole. Keep digging the hole until you hit the water. Don’t worry about the width of the hole, just aim for depth. When the water starts puddling on the bottom, you can stop digging. Once the hole is dug, pile the sand that you dug into a mound about a foot from the hole. Pack the mound into a level base that is two feet in diameter. This will serve as a foundation for your castle.
The Equipment
- A long-handled shovel
- A bucket
- Carving tools
You might also like: Spring Into Better Lawn Care This Season
Building Methods
When you are ready to begin building your sandcastle, you want to start by doing the following:
- Piling up sand into a mound.
- Poking holes into the pile of sand then pour buckets of water into the holes. Stomp on the pile until it feels solid.
- Packing and shaping. When it comes to walls, build bricks instead of flattening the sand into pancakes. This will give the structure more stability. As for towers, all your pretty much do is create hand pancakes and stack them on top of one another. Remember, the more water in the sand means that the tower(s) will last longer.
- Carving and smoothing out the structure. Use a smoothing tool to define the elements of your piece.
- Moistening as necessary. The longer that you work on your structure, the dryer it will become.
Disclaimer: The stock image is being used for illustrative purposes only, and it is not a direct representation of the business, recipe, or activity listed. Any person depicted in the stock image is a model.
